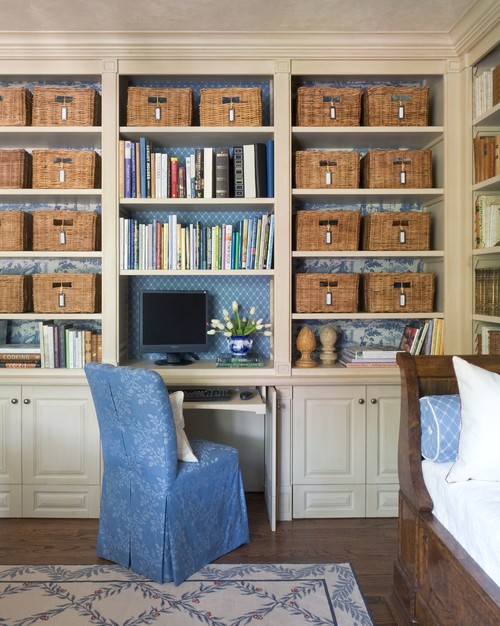
Because organization is a beautiful thing, and I'm horrible at it.
I have to create methods for organizing rather than claiming it as a quality that comes naturally. Organization works best for me when I can throw things into labeled containers rather then stack or arrange individual items.
A similar lots-o-boxes solution was needed in my garage closet for all the tools strewn over each shelf.
Most attractive, durable, and non plastic bins start at about $12 a pop. Which as with everything else, is too rich for my blood.
Through my Pinteresting addiction, I'd seen a good tutorial for making cheap wooden bins here.
 |
| before the tool takeover |
Most attractive, durable, and non plastic bins start at about $12 a pop. Which as with everything else, is too rich for my blood.
Through my Pinteresting addiction, I'd seen a good tutorial for making cheap wooden bins here.
My boxes would need to be bigger to hold lots of tools, and lighter so I could easily lift them when full of said tools. Handles on both sides were also a must.
Using closet shelf measurements, I figured out how big I could make the boxes. They needed to be narrow enough to fit between the shelf brackets, and low enough to leave an inch or two of space open at the top for I'm-feeling-too-lazy-to-even-pull-this-sucker-out tool deposits.
I made a cut list and headed to the hardware store. The boxes would need to be made of real wood, as MDF just doesn't last. I found the least expensive plywood I thought would stand up to the task: 1/4in. x 4ft x 8ft underlayment. With some quick math wizardry (for which I am widely NOT known), I figured out I could do all the boxes with just one $14 sheet in just a few cuts. A lovely staff member performed all the cuts I needed for the 45 sides and bottom pieces to make 9 boxes. I also grabbed some inexpensive 1x2's and got them cut to size for the corner pieces.
At home, I assembled the boxes the same way that Kristi did in her tutorial. I did use fewer screws because I didn't need to attach multiple separate boards on each side. And I was running out of screws that day.
.JPG) |
| sandpaper and sponge brushes, reporting for duty |
I then sanded all the edges, as many of the plywood pieces had splintered veneers from being cut.
A little polycrylic sealed them up and brought out the grain of the wood.
For handles, I looked at the cheapest hardware store options and they were unattractive and would have almost doubled the per-unit cost of the boxes. Nahhhh. I could do better.
During my pallet excavating at the firehouse for the pallet table, I'd seen a big pile of old throw away fire hose. There are all sorts of things being made of of fire hose lately, why not handles?
I drilled two holes in each strip and two holes in the front and back panels of each box. The distance between the holes in the strips were about 1.5 inches greater than that on the boxes, so when I lined the holes up and bolted the pieces together, the hose strip would buckle and have room for my hand.
I painted on chalkboard squares in roughly rectangular shapes on the prettier end of each box and set them to dry.
.JPG) |
| Handles were cut from the side of the hose with the most writing |
I split my tools up into 9 logical piles, used chalk to label each bin, and loaded em up.
I went with chalk rather than a permanent label because I already had chalk paint and chalk, and it made sense to use them since the content of the bins will change over the course of their lives.
The current bin types are: Adhesives, Paint, Hardware, Cutting/Sanding, Frequently Used Tools, Tools, Extra Tools, Housekeeping, Pets.
Into the closet they went, all pretty and ready to keep me organized.
 |
| life is like a box of hardware.....full of nuts |
They are fantastic for pulling out and grabbing a tool, or picking up the whole box to take with me to a project location.
This (and only this) closet is now a highlight on the house tour when people come over.
Cost breakdown:
plywood - $14
corner wood -$5
chalkboard paint - already had it
fire hose - free
nuts n bolts -$4
nuts n bolts -$4
$23
Price per bin = $2.50
-Lindsay


These are beautiful and creative!
ReplyDelete